Slice of Cake Halloween Costume
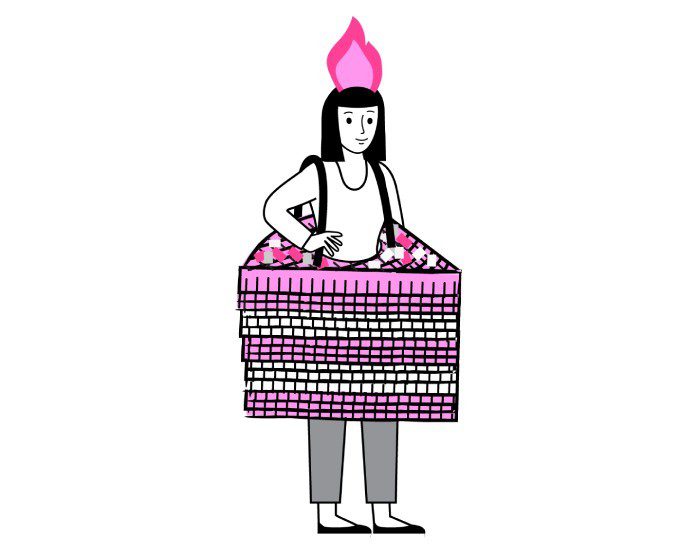 Any way you slice it, this sugar-laden Halloween costume idea will be a hit. And, reusing your moving boxes to create this costume confection is just the icing on the, well… cake. Grab your ingredients and get to baking up this creation — no oven required!
What you need:
- Tools: scissors, utility knife, hot glue gun
- Materials: Cardboard moving boxes, crepe paper (one color for the frosting, one color for the cake part, and several other colors for decorations), school glue, glue sticks, ribbon, cardstock in yellow (for a birthday candle flame) or red (for a frosting rosette), plastic headband, packing tape, hot glue sticks
How to make it:
Step 1:
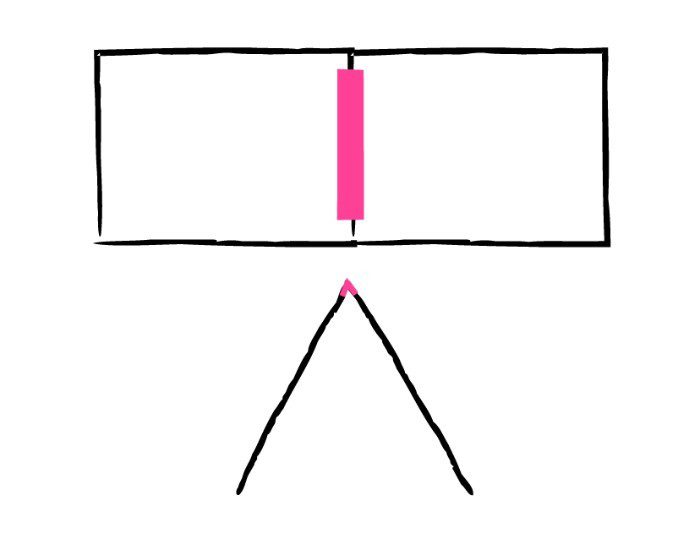
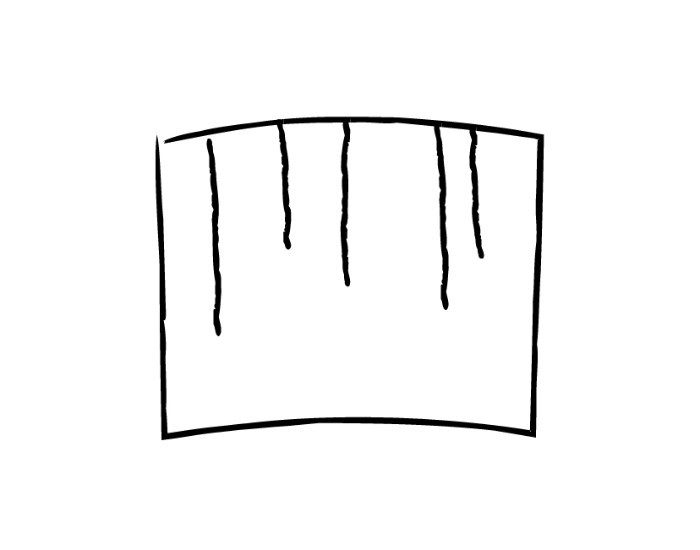
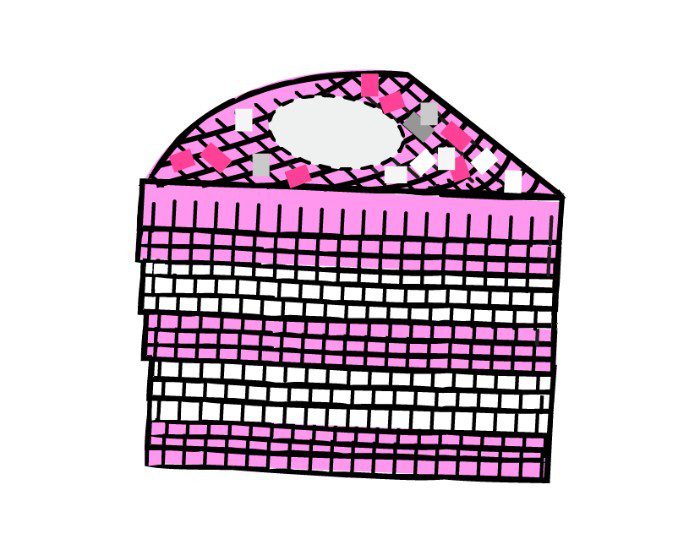
Cut out 2 large rectangles to make the side pieces of the slice of cake from the cardboard moving boxes. The rectangles will need to be the same size. Use packing tape to tape the short sides of the 2 rectangles together, forming a “V”.
Step 2:
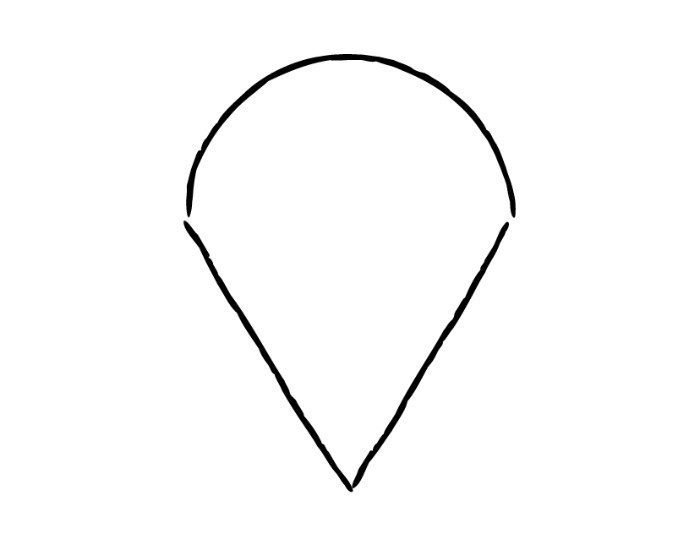
Cut out the top of the cake slice (triangle with curved short side) from your moving boxes. The 2 long sides of the triangle for the top of the cake will need to be cut to fit the angle (“v” shape) made by taping the 2 rectangular cardboard pieces together. The shorter side of the triangle will need to be curved (like the outside of a round cake).
Step 3:
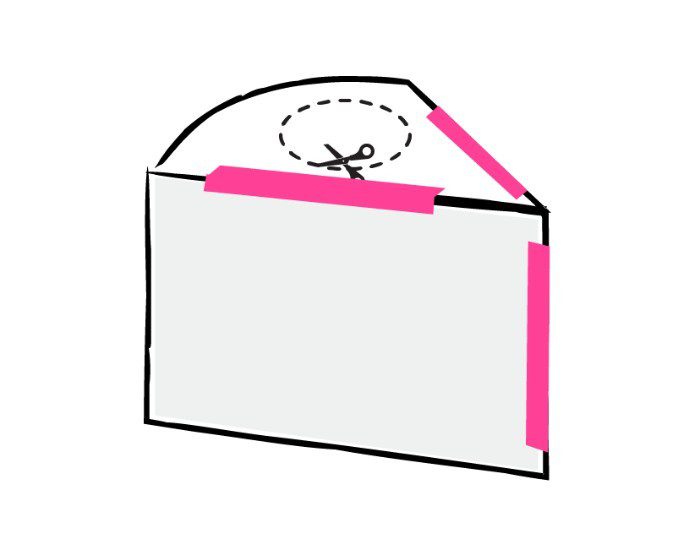
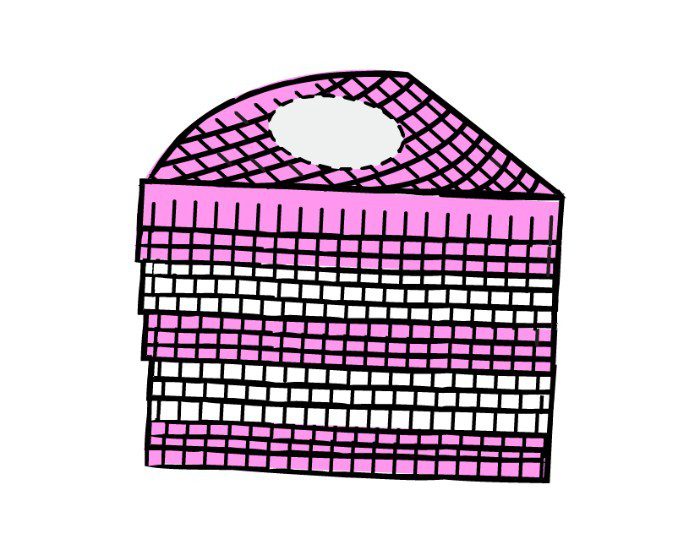
Use the utility knife to cut a hole in the middle of the triangle to allow the wearer’s head and body to go through. Then, tape the triangle to the long sides of the rectangles to form the top of the cake slice.
Step 4:
Cut out the back side of the cake slice. This will also be a rectangle, though it will be curved along the short end to fit the curved edge of the top triangular cardboard piece. Make sure that the long sides of the back cardboard piece are the same length of the short sides of the larger rectangular pieces. Tape the back piece of the cake slice to the rest of the pieces, curving along the back of the triangle as you attach it.
Step 5:
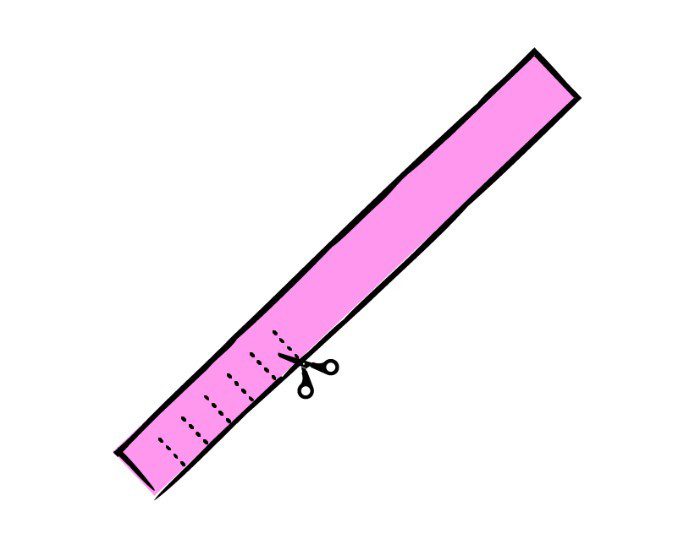
Grab the crepe paper colors for the frosting and the cake. To start, use scissors to cut lengths of the crepe paper to the width of the sides of the cake slice. Then, on the long edge of each of those lengths, make cuts about 1 inch in length and about ½ inch or so apart all down the long edge of the crepe paper strips to make fringe. Make sure not to cut all the way through the length of the crepe paper.
Step 6:
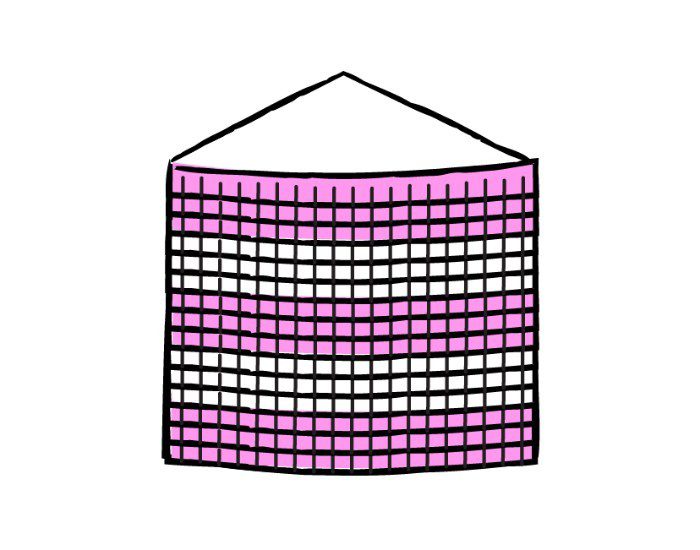
Place a strip of school glue at the bottom of the side of the cake slice. Place a piece of the cake-colored crepe paper on top of the glue to affix (make sure the fringe side is not glued down). Repeat with another piece of the cake-colored crepe paper fringe just above the one you placed on the cardboard until you have constructed a layer of cake. Alternate the next crepe paper fringe layer with the frosting-colored pieces in the same way just above the cake layer crepe paper fringe. Repeat until you’ve constructed 2 layers of cake and 2 layers of frosting on either side of the slice.

Step 7:
Use the same glue and fringe technique on the back part of the cake slice using frosting-colored crepe paper fringe.
Step 8:
To cover the top of the cake, again use the same glue and crepe paper fringe technique, but start with gradually longer lengths of frosting-colored crepe paper fringe starting at the point of the cake and keep applying until you reach the back of the slice. Now you’ve got your whole cake covered! Make sure to let the glue dry completely.
Step 9:
With the other colors of crepe paper reserved for decorations, cut the paper into different shapes, like sprinkles or flowers. Use the glue stick to affix your decorations to the cake slice.
Step 10:
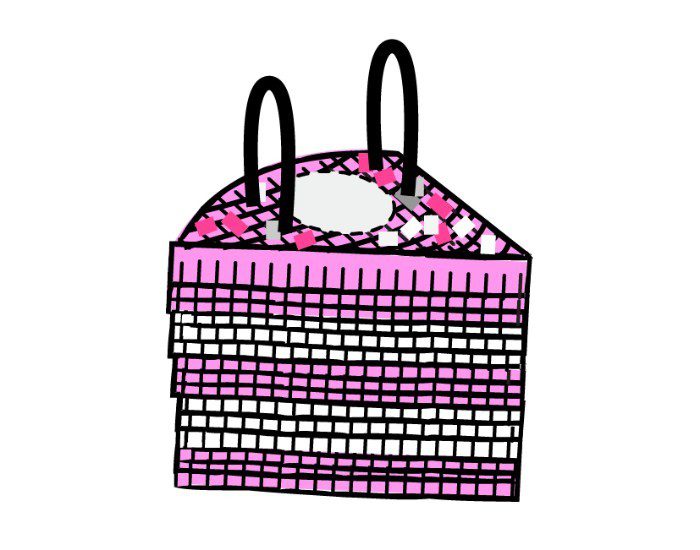
To attach the straps to suspend the cake slice from your shoulders, first poke two holes on either side of the hole you cut for your body in the top of the cake. Use 2 lengths of ribbon (enough to suspend the cake slice just above your waistline), thread the ribbon front to back on either side of the hole for your body. Tie knots to secure the ribbon straps on the inside of the cake slice.
Step 11:
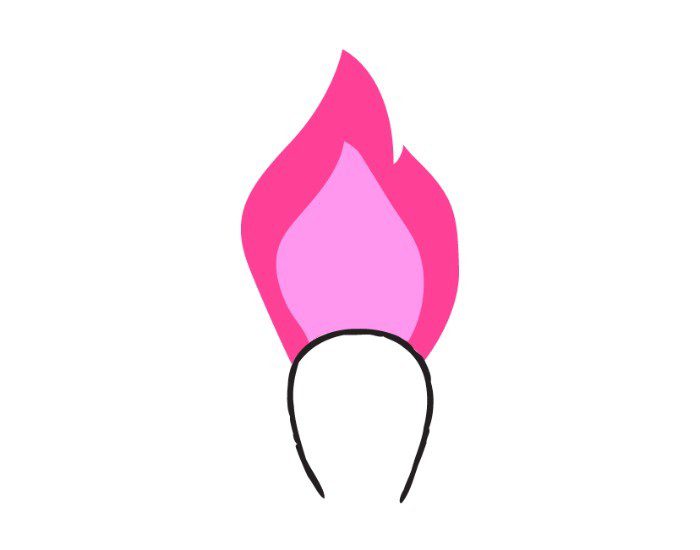
To create a headpiece (optional), you can either cut out a flame shape out of yellow cardstock, or a rose/flower shape out of the red cardstock (or other colors or decorations as you wish). With a hot glue gun and hot glue sticks, attach the cardstock to the middle of the plastic headband.
Ready to make a move? Get in touch today for an obligation-free guaranteed flat price moving quote.
Related articles

Average Moving Cost in Connecticut: Factors that Affect Moving Prices
Learn More

9 Tips for Moving to a Building with no Elevator
Learn More

How to Get Rid of a Couch in 8 Easy Ways
Learn More

Average Moving Costs in NJ: Factors that Affect Moving Prices
Learn More