Mini Designer Handbag Halloween Costume
 It’s fashion, baby. Got a large cardboard moving box handy? If the answer is yes, breaking it down for materials won’t break the bank for this coveted couture accessory-inspired costume!
What you need:
- Tools: scissors, utility knife, hot glue gun
- Materials: 1 cardboard moving box, metallic gold cardstock, hot glue sticks, black quilted fabric (enough to cover box), gold chain (about 2’ long), marker or pen, packing tape
How to make it:
Step 1:
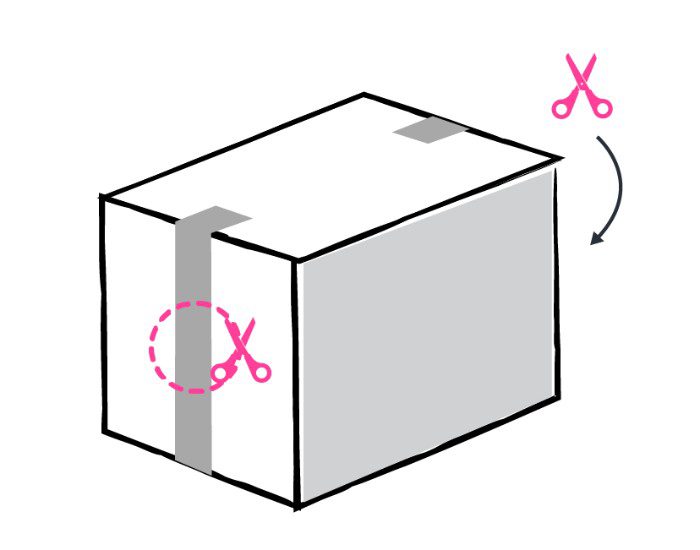
Tape up the flaps on either side of the moving box so that they are sealed.
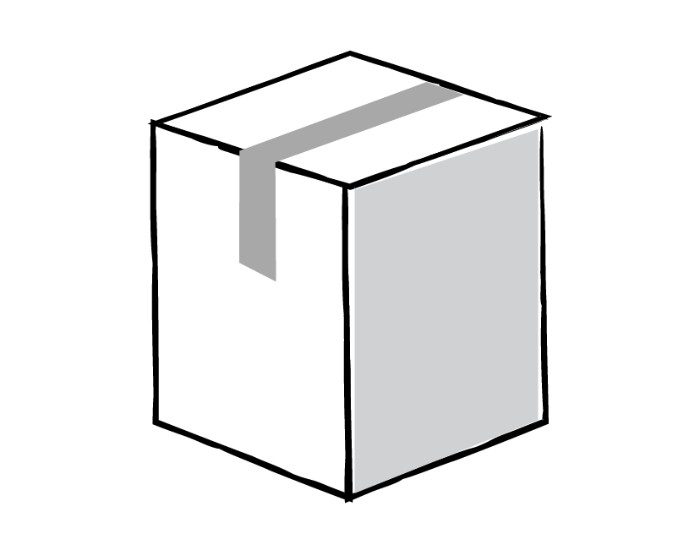
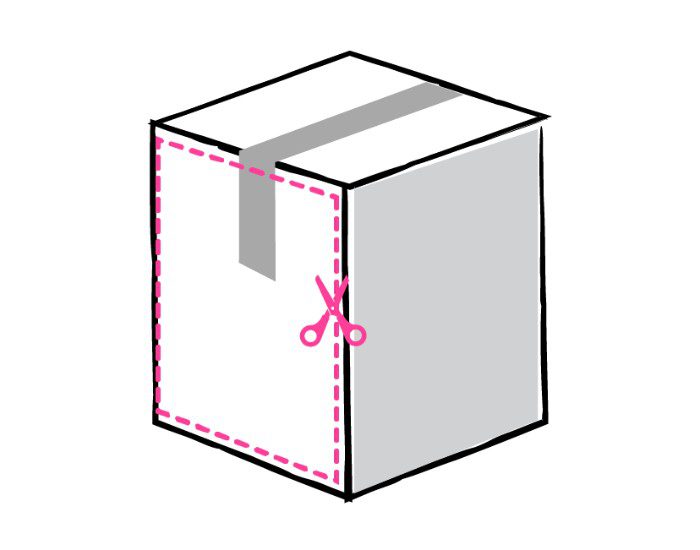
Step 2:
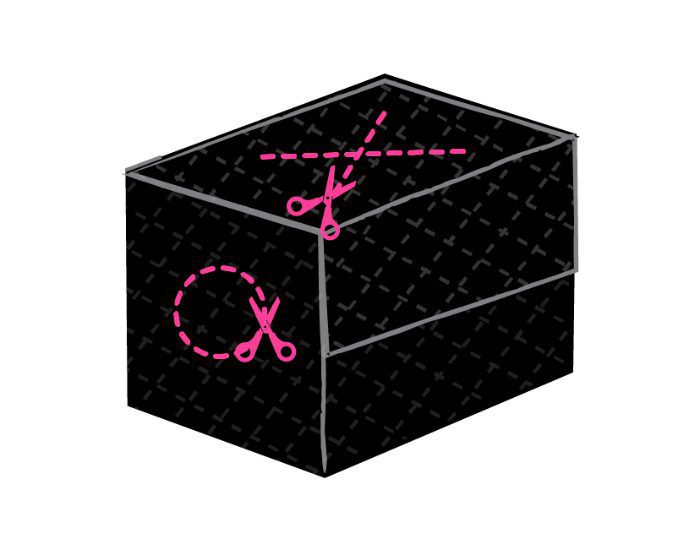
Cut off one entire side of the box that does not have flaps. Don’t discard (you’ll be using it for the top of the purse).
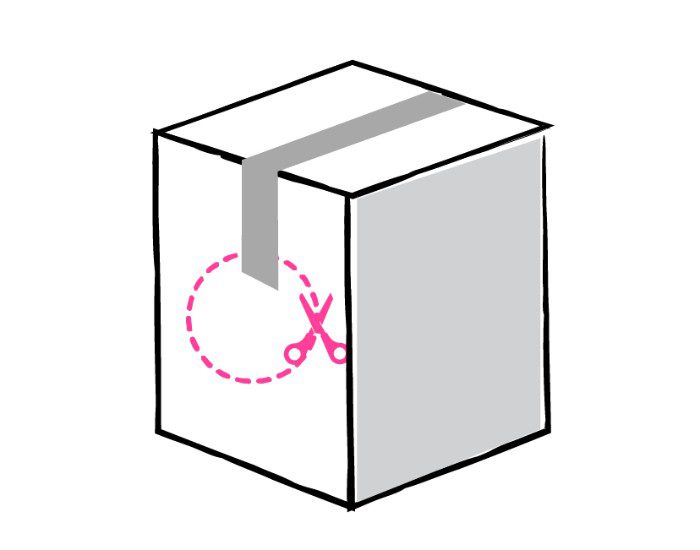
Step 3:
On the other side of the box that does not have flaps, cut a hole big enough to put over a child’s head.
Step 4:
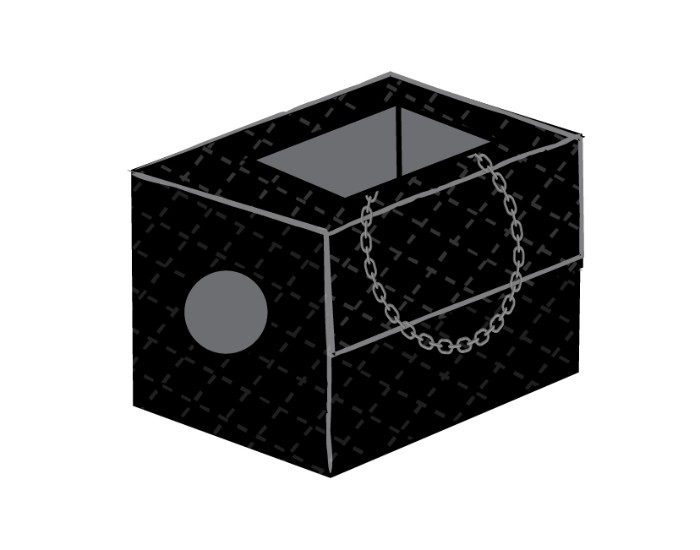
On each of the sides of the boxes that have sealed up flaps, cut arm holes.
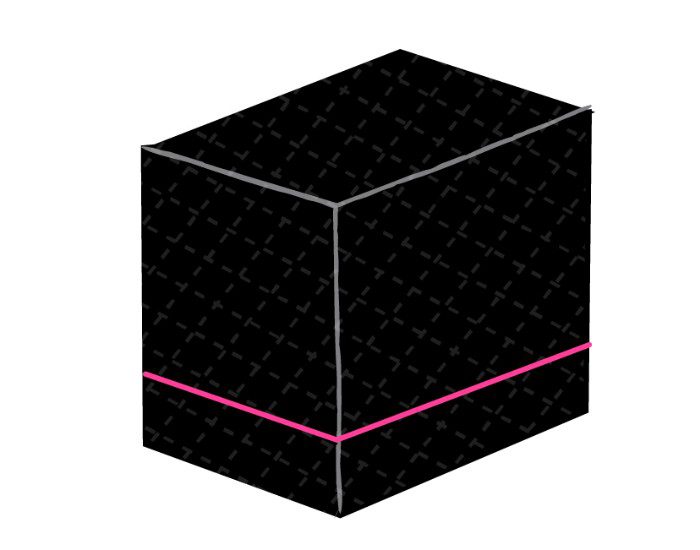
Step 5:
Apply hot glue to the box and begin wrapping the box with the quilted fabric, leaving 2 inches on the bottom where the child’s legs would come through the box. Make sure to mark where the arm holes and hold for the head are so that you can cut the fabric and tuck the extra fabric inside the box around those holes.
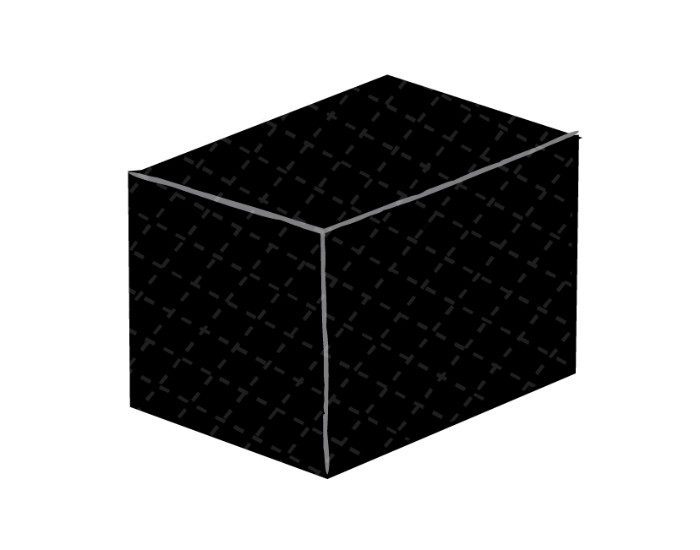
Step 6:
Tuck the remaining 2 inches of fabric on the inside of the bottom of the box and tape or hot glue to secure.
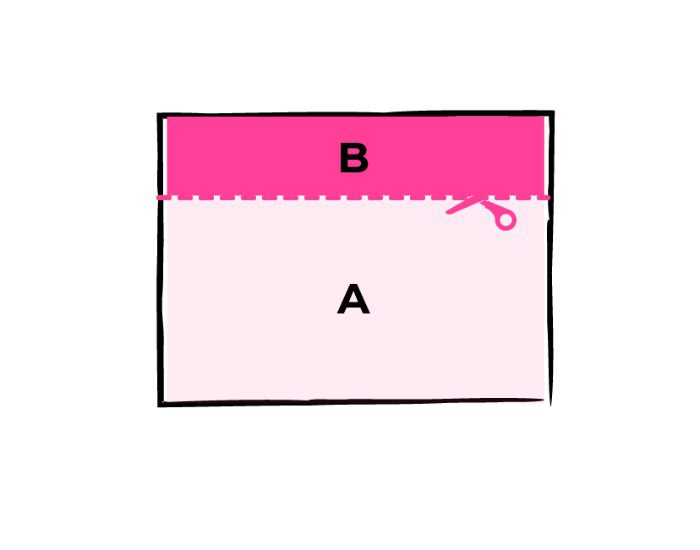
Step 7:
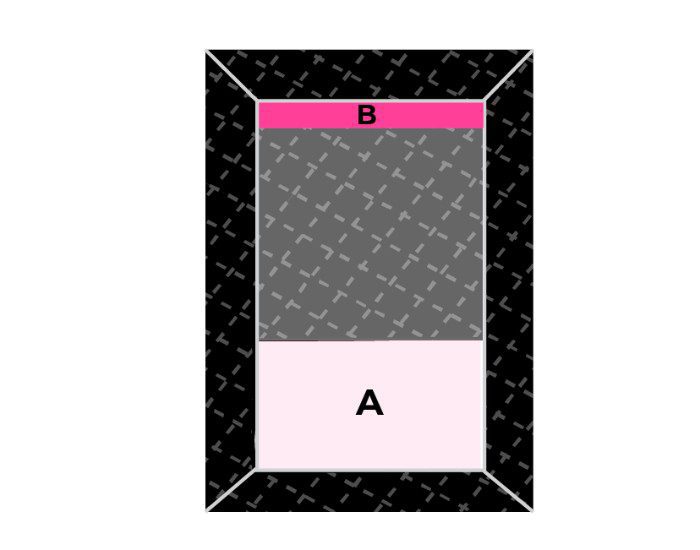
Take the side that you cut off the box to make the top purse flap. On the long edge of the rectangular piece you have, draw a line that is ¼ of the width of the piece (for example, if the piece is 16” wide, the line would be at 4” wide, drawing it lengthwise). Cut the cardboard piece along the line you drew.
Step 8:
With the remaining quilted fabric, measure how much will be needed to drape over the top of the box to create a top purse flap. Then, use the cardboard pieces you just cut to wrap them in the top purse flap quilted fabric. Before cutting the fabric, make sure to leave a little extra on both sides to wrap over the ¾ piece, and the ¼ cut pieces, one on each end of the fabric. The middle of the fabric for the front purse flap will have no cardboard in it.
Step 9:
Affix the smaller covered cardboard piece to the back side of the top of the purse costume with hot glue and let dry. Drape the fabric over the hole you created for the head to go through the purse. Then, affix the larger fabric covered cardboard piece at the end of the flap to the front of the purse with hot glue. Let the glue dry.

Step 10:
Then you’ll need to cut through the middle of the flap that overlaps with the hole you created for the head in the box. Cut an “x” into the fabric just above the hole with the utility knife or scissors. Then fold back the flaps created in the fabric into the inside of the box and secure with hot glue or tape. You’ll create a square shaped hole for the head to go through.
Step 11:
Attach the gold chain by draping it on the front of the purse to the desired “purse strap” length. Then tuck in the ends of the chain inside the hole created for the head and either tape or hot glue the ends down to secure.
Step 12:
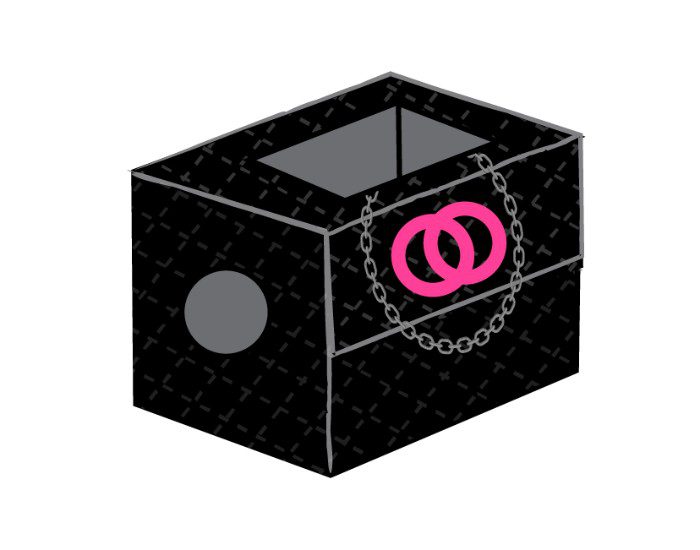
Draw your desired logo on the metallic gold cardstock and cut it out with scissors. Hot glue the logo in the middle of the top flap on the front of the purse.
Time to show off your new purse from the So-Chic BOO-tique!
Ready to make a move? Get in touch today for an obligation-free guaranteed flat price moving quote.
Related articles

How to move a washer and dryer
Learn More

How to move a fridge
Learn More

How to pack seasonal decorations for storage
Learn More

How to expertly pack valuable items when moving
Learn More